Free Teacher Resources
Welcome! I'm Matt Morris in Waterloo, Ontario and I've been spending years learning how to sculpt with snow. I'm excited to share my knowledge for free as I think it's such a great opportunity for fun during the winter months.
This page will provide everything you need to know to get your students outside having fun with snow sculpting this winter!
Breaking news!
The majority of snow that falls in school playgrounds is non-packing (dry) snow.
Non-packing snow is the BEST type of snow for snow sculpting!
To begin, watch the displayed 6 minute video which explains many of the key concepts including the wonders of sintering.
|
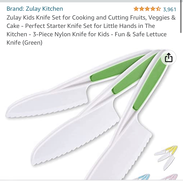
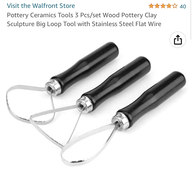
Supplies:
|
|
|
Process:
|
|
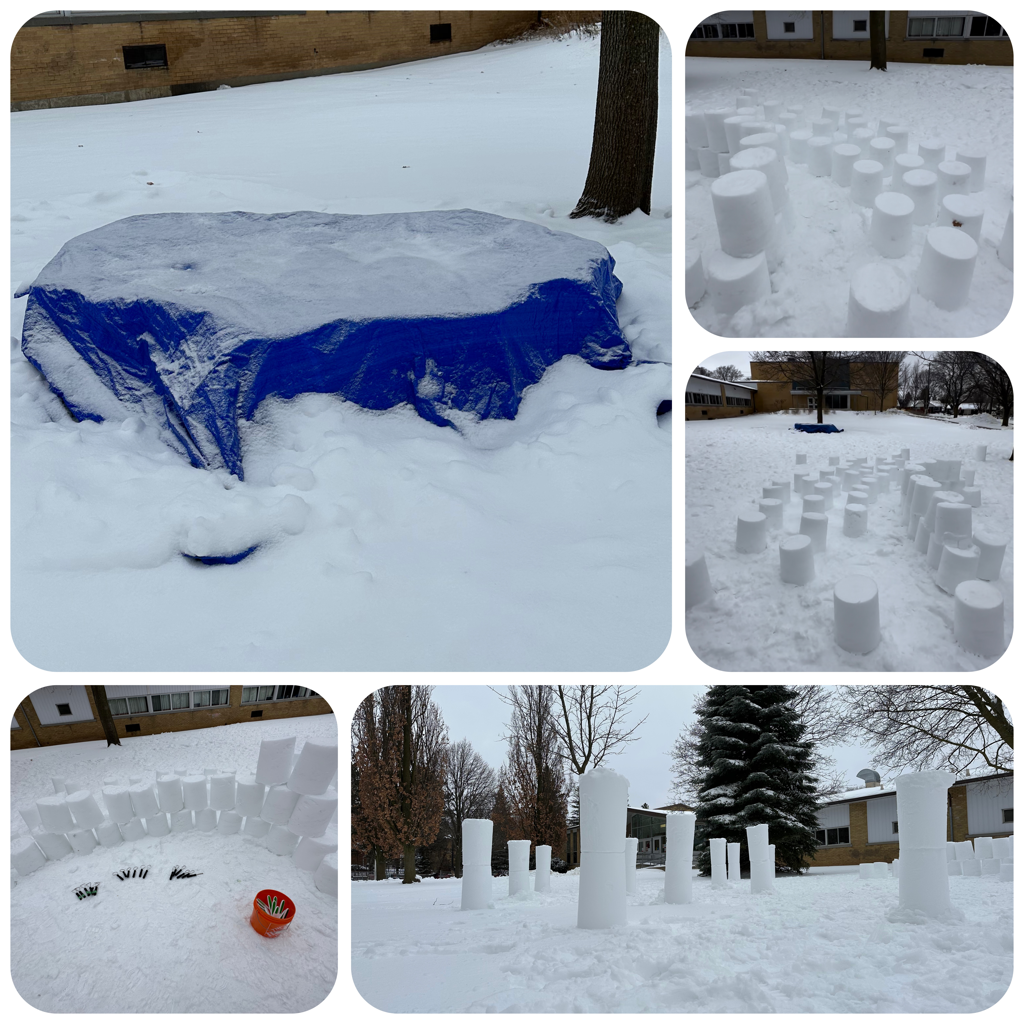
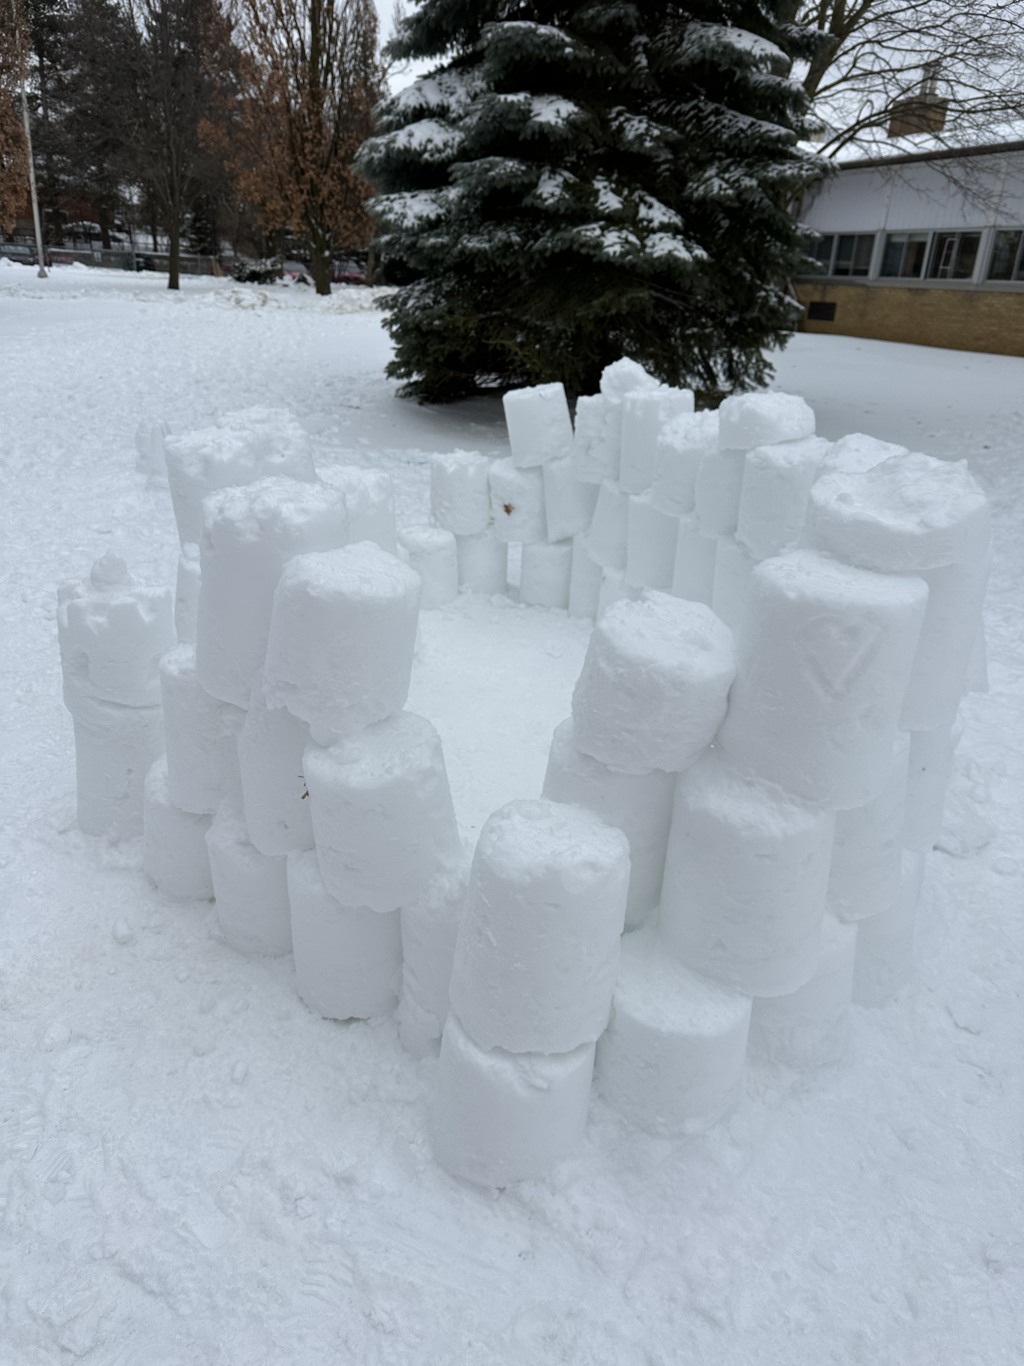
At an outing to a local Publisher school we had a blast. You can see pictured a number of two pail towers ready for the students. Check out my summar y for 2022-2023 (season 11) to review the entire process. I’ll note here that my wife Lorna and I went over the night before the carve and made 36 x 7 gallon buckets. We then covered them in a blue tarp to protect them from the rain. They sintered all night and then the next day the students carved pristine snow.
|
Each student will likely love to carve their own creation. If you have lots of blocks left over you can end the experience with a group build. Fun for all kids using the playground for days to come!
|
One Final Twist:
If the snow is wet (packing) snow:
Proceed to build or carve as soon as the pails are removed.
If the snow is non-packing snow:
Go back inside with your students for 2+ hours while the snow ‘sinters’. The compacted non-packing snow needs to bond together.
This pause causes a scheduling challenge for many teachers but can’t be skipped.
One idea to fill this gap is to teach (or have the kids explore) what snow sintering is and talk about what the kids might build or carve. They could also watch some of the how-to videos via the link at the bottom of this page.
After the snow has sintered, go back outside and create! Take pictures too!
|
Make a QP7000 Quarter Pounder: (optional)
The pounding process followed by the sintering process is essential for success when using non-packing snow. Compaction by mittens/gloves works very well. An option though is to make a set of Quarter Pounders (QP7000’s). You can find the free and easy instructions to follow here. The pounder improves the quality of the compaction of the snow—especially at the edge of the pail where most of carving action happens. Maybe some motivated members of your parent council will want to take on this little project! I do not sell this item but over 1000 have been made. |
|
|
Other key links:
Answers to common questions. Video support page. Over 30 free videos. Make gnomes! They are a reasonable challenge for an elementary student and very popular! General snow sculpting discussion via 14 minute video shown at right (or below). In December of 2021 I appeared on the Rogers TV program Mindful Makers hosted by Agnes Niewiadomski. |
|
Snow sculpting meets many of the ‘Visual Arts’ expectations in The Ontario Curriculum Grades 1-8, The Arts 2009, curriculum document. And I know that creative teachers will find great ways to link snow sculpting with many other curriculum areas!
I wish you and your students success with this project! Feel free to connect if you have any questions. And don't forget to explore the rest of this free site for more ideas!
I wish you and your students success with this project! Feel free to connect if you have any questions. And don't forget to explore the rest of this free site for more ideas!
